
How To Install Drawer Slides On Old Dresser – Our Town Home
The long, slender Adding Metal Drawers shelves give the shelving unit a light and airy look. And the clean, simple lines make it easy to combine with many styles of furniture. This rustic

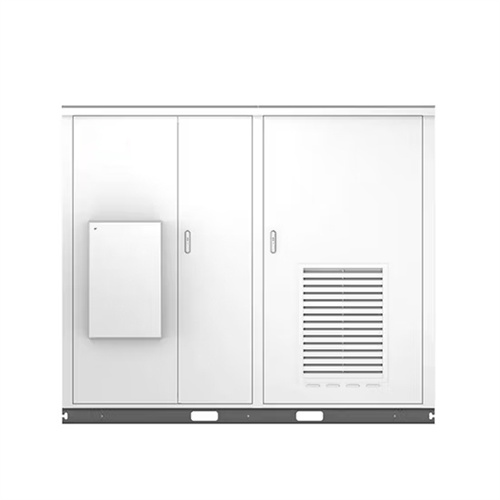
Base Transceiver Station Equipment | PDF
The document provides installation guidelines for the Base Transceiver Station equipment IMN:BTSE BS-240 and variants, emphasizing strict adherence to safety and installation procedures to prevent
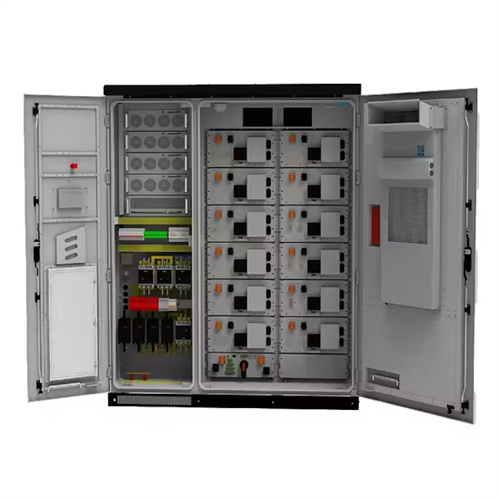
Installation, Operation and Maintenance of Batteries
The document discusses battery maintenance procedures and norms for substations. It provides details on types of batteries required for different voltage substations, initial battery charging procedures

How to Release the Battery Burden on Rail Trains?
After consultation with their maintenance team, we modified the compartment so that the batteries can slide in and out on a moving tray by using TUMA''s heavy duty locking slide that can
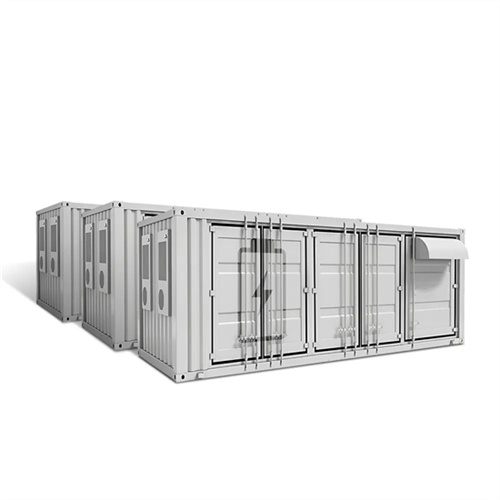
Telescopic slide application: Railway industry
After utilizing slides into battery boxes, battery maintenance is no longer a low efficient process. The strong slide structure and smooth raceway allows personnel to slide out a full-load

Install or replace batteries, Setup | AcuRite 00250 Weather Station
batteries properly. Only batteries of the same or equivalent type as recommended are to be used. DO NOT incinerate used batteries. DO NOT dispose of batteries in fire, as batteries may explode or leak.
How To Install Drawer Slides: Step-by-Step Guide For Smooth Operation
Learn how to install drawer slides with our step-by-step guide. Follow our tips for smooth sliding and troubleshooting. Achieve proper alignment and weight distribution.

Assembling WS2000 Weather Station | WeatherXM Docs
Step by step instructions Battery installation diagram (external box) Step 1: Slide the battery box lock switch to unlock position. Push to open the battery box door according to the arrow direction. Step 2:

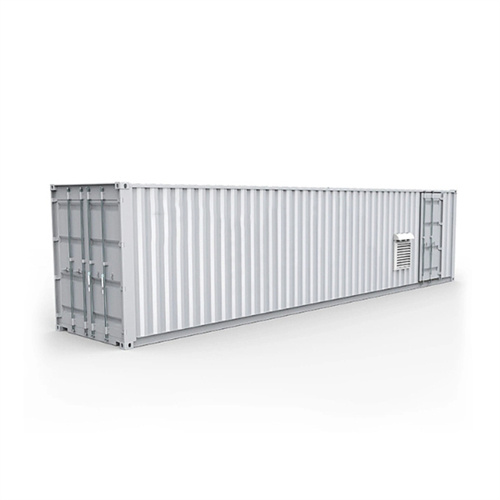
Bottom Mount D-1054 Train Battery Box Slide
The D-1050 & D-1054 Bottom Mount Slides are designed for floor mounted applications such heavy duty battery boxes on trains and military weapons carriers which are subject to high levels of shock and
Battery Replacement On A Vintage Camrex Photo Slide Viewer
This old Camrex slide viewer belonged to my father, he purchased it new in the 1960''s so he could look at the many slide pictures he took during our family vacation to Yellowstone Park.
How to Put Batteries in Correctly: AA, AAA, 9V, & More
In this article, we''ll tell you where to find your device''s battery compartment and how to install AA, AAA, C, D, 9-volt, and button batteries. If you''re ready to pop in those fresh batteries, read
Battery Posts and Terminals Guide: Types, Materials & Maintenance
Install new terminals by placing them securely on the battery posts and tightening according to manufacturer specifications. Avoid over-tightening as this can damage both terminals

Battery storage and maintenance on board: Key considerations
A battery room – intended to accommodate the batteries of electric carts and trolleys being charged – is a potentially dangerous area. Charging the battery (particularly those made from
4 FAQs about [Install battery slides in old station]
Can you stop a battery if it slides out?
Do not attempt to stop a battery if it slides out of the equipment. The P ort State Control code 04103 – Emergency, lighting, batteries, and switches is one of the most common deficiency codes marked worldwide and includes battery related items. Most of findings are related to battery room and protective measures and equipment missing.
How do you install a battery?
Insert the battery with the positive side facing up. Most devices that use coin or button batteries install them with the positive side facing up, unless they state otherwise. If you don’t see any markings on your device, it’s generally safe to assume that the positive side of the battery goes in face-up.
How do you stack batteries in a flashlight?
On some devices, like flashlights, you’ll stack batteries directly on top of each other. In cases like these, the batteries face the same direction so the opposite polarities touch. If the negative side of the battery went in first, its positive end is facing up. So, place the next battery in with the negative side facing down.
How do you put a new battery in a laptop?
If you’re ready to pop in those fresh batteries, read on! For AA, AAA, C, and D batteries, slide the flat, negative end of the battery against the spring onto the device. Then, push the raised, positive end into the flat side of the compartment. For a 9-Volt battery, hold it at a 30° angle to line it up with the connector snaps.