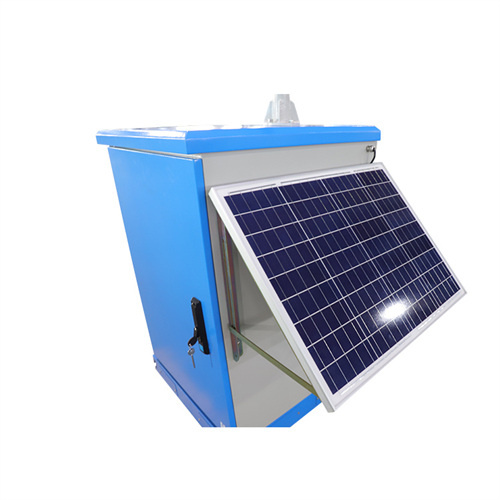
How to Pick a Solar Panel and Battery Backup System
But the solar battery market is rapidly evolving, and small, modular battery systems that can recharge from portable solar panels have become popular since we first wrote this guide in 2022.
Klëarvue Cabinetry User Manuals Download | ManualsLib
View & download of more than 29 Klëarvue Cabinetry PDF user manuals, service manuals, operating guides., Lcd Drawer user manuals, operating guides & specifications
KLEARVUE Cabinetry KLËARVŪE Cabinetry™ 15"W x 14"D
For this configuration, use all high drawer kits. Holes Used for Installation Drawer Kit Type Drawer Front Bracket A A 6. Installing a drawer kit in a 1-drawer and 1-door cabinet. For this configuration, use 1
How to Install Klearvue Cabinets | 10 Easy Steps (2025)
How to install Klearvue cabinets can transform any kitchen or bathroom with their modern and clean design. This guide will walk you through the step-by-step process, ensuring a smooth
KLEARVUE Cabinetry KLËARVŪE Cabinetry™ 15"W x 14"D
STEP 1: • Install bracket A (478-9804) to the back of the drawer front. Be sure that the tab of the bracket with two holes is facing toward the bottom of the drawer front, as pictured below.

Klearvue Toe Kick Installation
Learn how to install a toe kick on Klearvue Cabinetry with this easy step-by-step guide! We''ll show you how to measure, cut, and attach the toe kick for a clean, finished look to your project.

KLEARVUE Cabinetry KLËARVŪE Cabinetry® 9" W x 24" D x
ORGANIZING YOUR ORDER Y our KLËARVŪE CABINETRY ® order is going to consist of cabinet boxes, hinges, drawer kits, hardwar e, shelves, door and drawer front, cover panels, and other finishing
KLEARVUE Cabinetry KLËARVŪE Cabinetry™ 110-Degree Cabinet
Materials Needed: • 1-1/4" Wood Screws Countertop Finished End Cover Panel Cover Panel Finished End Cover Panel Seam * When island or peninsula length requires 2 cover panels, a seam will be
KLEARVUE Cabinetry KLËARVŪE Cabinetry® 9" W x 24" D x 30" H
Place cover panel onto cabinet, lining up to be flush to the top of the cabinet box, and flush to the cabinet door or drawer front and secure with clamp. Fasten with included screws through the pre
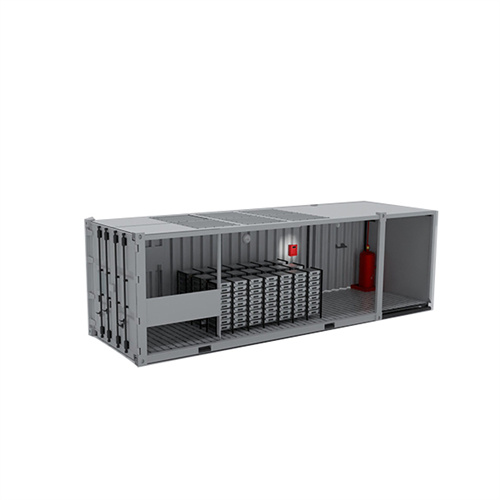
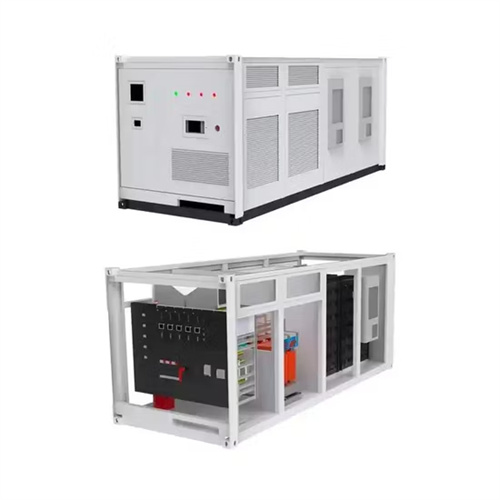
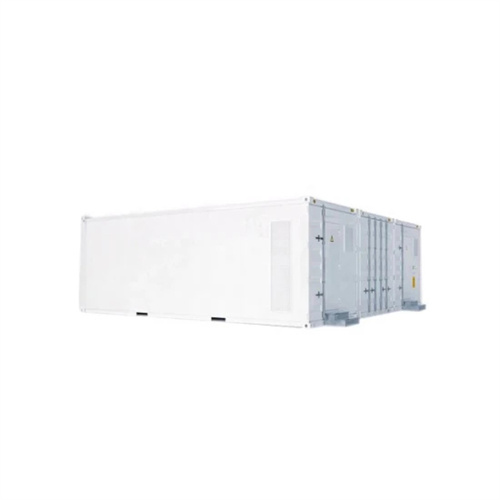
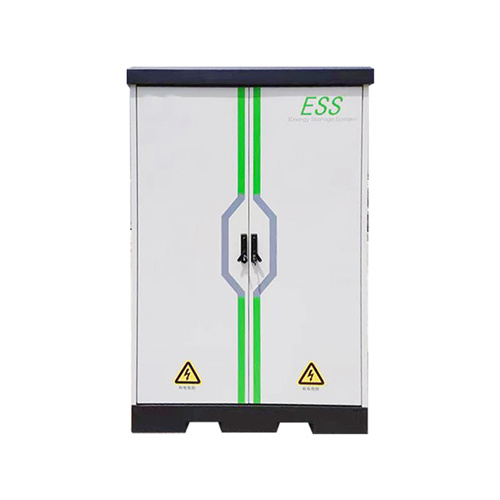
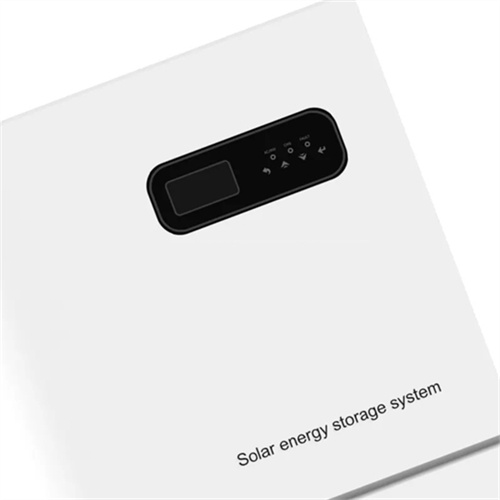
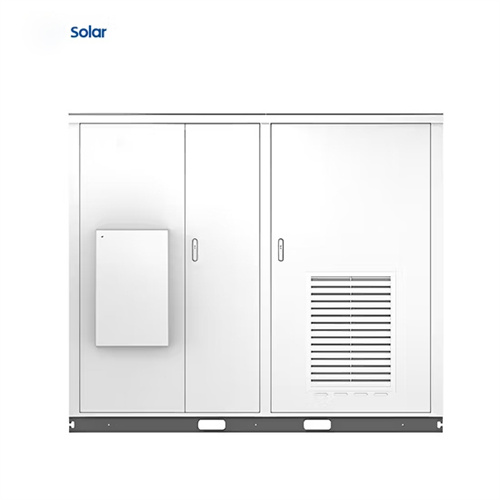
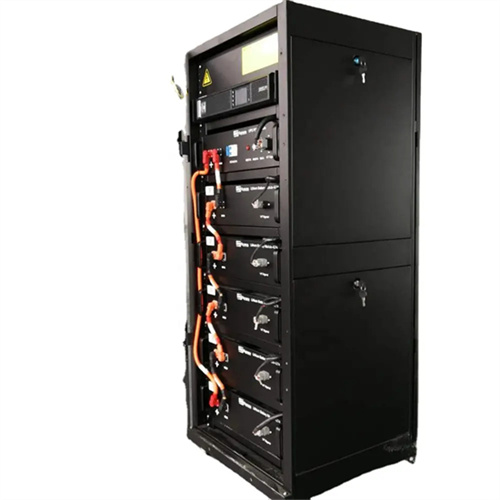
Steps to Install Home Batteries for Solar Panels
Keep the battery clean and free from dust and debris. By following these steps, homeowners can effectively integrate home batteries with their solar panels, enhancing energy
INSTALLATION GUIDE
Installation instructions detailed in this manual are for wood stud construction only. Attachment to any other surface material such as metal stud, concrete block, brick, stucco or poured concrete walls will