
How to remove a metal electric box
So I need to remove the box, run new wires, and then use one of those old work boxes. And I am trying to avoid major drywall repairs. As Texas stated, Sawzall is the only way to go. You may have to hold
Removing Batteries the Right Way: A Comprehensive Guide to Safety
Incorrect battery removal can lead to chemical spills, electrical shocks, or even explosions, emphasizing the need for careful handling. This guide will delve into the specifics of how
What is the easiest code compliant way to totally remove an electrical
Just to point out the obvious: it''s not at all unreasonable to leave the box where it is, keep the splice inside the box, put a blank face plate on it and paint the face plate to match the wall.
How to I remove this electrical box? : r/AskElectricians
Essentially, because there is no hole at the top, my electrical outlet plate pulls away from the wall a bit at the top. So I thought I should probably replace the box to one with two screw holes to
How to Remove a Ceiling Electrical Box: A Step-by-Step Guide
Learn how to remove a ceiling electrical box in 3 easy steps. This step-by-step guide will show you how to safely and effectively remove an electrical box from your ceiling, so you can access the wiring

Remove an Electrical Box in Seconds! (No Damage Trick)
Need to take out an old electrical box without tearing up your wall? 🧱⚡ This super simple DIY hack shows you the easiest way to remove an electrical box cleanly and quickly.
How to remove battery from electric wheelchair?
Removing a battery from an electric wheelchair depends on the specific model, but here are general steps to guide you through the process. Always consult the wheelchair''s user manual for model

How to remove an existing electrical duplex outlet box
How would you go about removing a duplex electrical outlet box? Any ideas? Is it even possible to remove the box since the electrical outlet box was attached prior to installing the drywall?
How To Remove Metal Electrical Box From Wall – Storables
In this article, we will guide you through the step-by-step process of removing a metal electrical box from a wall. By following these instructions and taking proper safety precautions, you
How to Safely and Easily Disconnect a Car Battery
Car batteries have liquid battery acid inside—if it sloshes around it could leak out and cause burns. If you''ve never handled a car battery before, give it a little test lift first so you can make sure you''ve got a good grip—at 30 to 50
SHOCKING Mistakes DIYers Make Installing Metal Electrical Boxes!
In this video I go over some of the biggest mistakes made when installing metal electrical boxes! Many people have no idea about many of these mistakes as they really aren''t very obvious until
Fixing broken Battery Compartment Contact Springs (easy DIY fix)
In this video, we tackle a common issue that plagues many battery-operated devices — a corroded spring in the battery compartment. Over time, battery leaks c...
How to remove an old electrical box from the wall
I show how I took off the original electrical box, referred to as new work electrical box, from a wall so I could upgrade it to a double gang old work box to handle an additional switch for the
What Does A Forklift Battery Changer Do?
Forklift battery changers use automated hoists and guided rollers to swap batteries in 2–5 minutes. Sensors verify proper alignment and voltage thresholds before disconnecting, preventing arc flashes
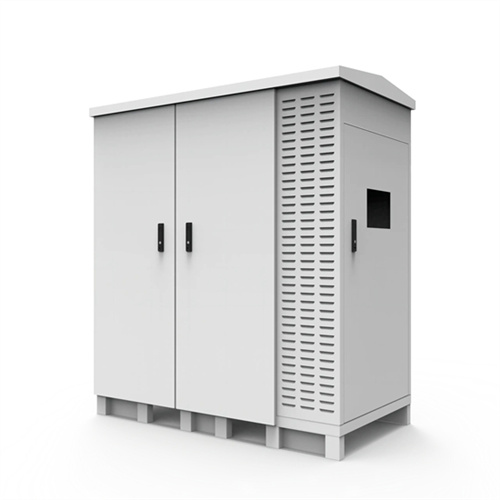
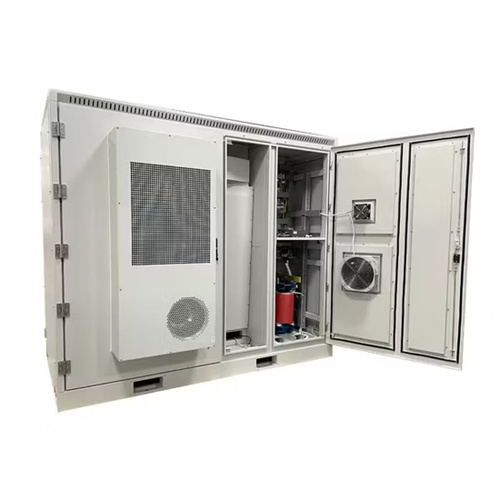
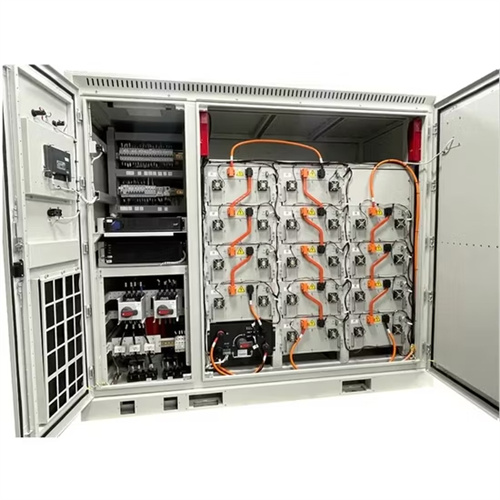
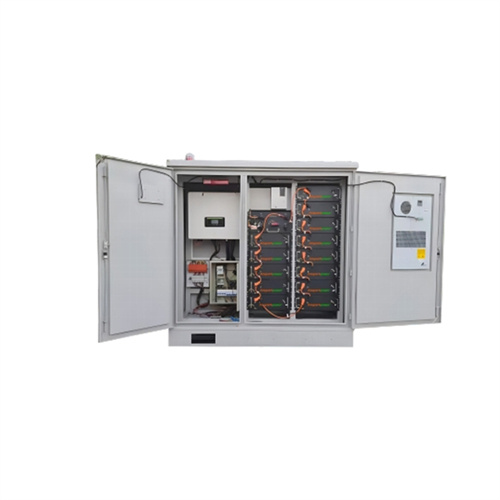
4 FAQs about [How to remove battery in steel Electrical Box that have rollers]
How do I set up a work area for battery removal?
Preparing the work area is crucial to ensure a safe and organized environment for the battery removal process. Follow these steps to set up your work area: Park the Vehicle: Begin by parking the vehicle in a flat and well-ventilated area. Turn off the engine and engage the parking brake to prevent any unexpected movement.
How do you remove a battery from a car battery tray?
Follow these steps to safely extract the battery: Securely Grip the Battery: Carefully grasp the sides of the battery, ensuring a firm and secure grip to lift it out of the tray. It’s essential to maintain a steady hold on the battery to prevent any accidental drops or mishandling.
How do I remove a battery hold-down?
Depending on the design, there may be one or more fasteners that need to be loosened or removed. Remove the Hold-Down: Once the fasteners are loosened, carefully lift out or unscrew the battery hold-down from the battery tray. Keep the fasteners in a safe place to prevent misplacement.
How do you remove a negative cable from a battery?
Remove the Negative Cable: Start by using a wrench or socket to loosen the nut or bolt securing the negative cable to the negative terminal. Once loosened, carefully remove the negative cable from the terminal and position it away from the battery to prevent accidental contact.